Python Flask and WebSocket Example
Python Flask and WebSocket Example
In this tutorial, you will learn how to create a Flask application with WebSocket.
Creating a Flask application with WebSockets involves using a library like Flask-SocketIO to enable WebSocket support.
To install Flask and Flask-SocketIO, run the following pip command.
pip install flask flask-socketioIf you have pip3 installed, then use the following command.
pip3 install flask flask-socketioNow, we need to create the project. Create a directory structure for the project, as shown below.
project/
|-- app.py
|-- templates/
|   |-- index.html
Please note that index.html is in templates directory.
app.py
from flask import Flask, render_template
from flask_socketio import SocketIO

app = Flask(__name__)
app.config['SECRET_KEY'] = 'your_secret_key'  # Replace with your own secret key

socketio = SocketIO(app)

@app.route('/')
def index():
    return render_template('index.html')

@socketio.on('connect')
def handle_connect():
    print('Client connected')

@socketio.on('message')
def handle_message(data):
    print('Received message:', data)
    socketio.emit('response', 'Server received your message: ' + data)

if __name__ == '__main__':
socketio.run(app, debug=True)app.route('/'): This is a decorator that defines a route for the root URL ("/"). When a user accesses the root URL of your application, it calls theindexfunction, which renders theindex.htmltemplate and displays it in the browser.@socketio.on('connect'): This is a SocketIO event handler. It listens for a "connect" event, which is automatically triggered when a client connects to the server using WebSockets. In this function, "Client connected" is printed to the server's console to acknowledge the connection.@socketio.on('message'): Another SocketIO event handler, this one listens for a "message" event. When a client sends a message using WebSockets, this function is called. It prints the received message to the server's console and emits a "response" event with a modified message back to the client.
templates/index.html
<!DOCTYPE html>
<html>
<head>
    <title>WebSocket Example</title>
    <script src="https://cdnjs.cloudflare.com/ajax/libs/socket.io/3.1.3/socket.io.js"></script>
    <script type="text/javascript">
        var socket = io.connect('http://' + document.domain + ':' + location.port);

        socket.on('connect', function () {
            console.log('Connected to the server');
        });

        socket.on('response', function (data) {
            console.log('Server says: ' + data);
        });

        function sendMessage() {
            var message = document.getElementById('message').value;
            socket.emit('message', message);
        }
    </script>
</head>
<body>
    <h1>WebSocket Example</h1>
    <input type="text" id="message" placeholder="Type a message">
    <button onclick="sendMessage()">Send</button>
</body>
</html>
var socket = io.connect('http://' + document.domain + ':' + location.port);: This line establishes a WebSocket connection to the server. It creates asocketobject and connects to the server using the URL of your Flask application (document.domain) and the port on which your application is running (location.port).socket.on('connect', function () {...});: This code defines an event listener for the "connect" event. When the client successfully connects to the server via WebSocket, the function inside this listener is executed. In this case, it logs "Connected to the server" to the browser's console.socket.on('response', function (data) {...});: Here, an event listener is set up to listen for the "response" event. When the server emits a "response" event, this function is called, and thedataparameter contains the message sent by the server. The function logs "Server says: [data]" to the browser's console.function sendMessage() {...}: This is a custom JavaScript function that you've defined. It is called when the user clicks the "Send" button on the web page. Inside this function, the message entered in the input field is retrieved, and thesocket.emit('message', message)line sends that message to the server using the "message" event. This is how the client communicates with the server to send messages.
Run the Flask Application
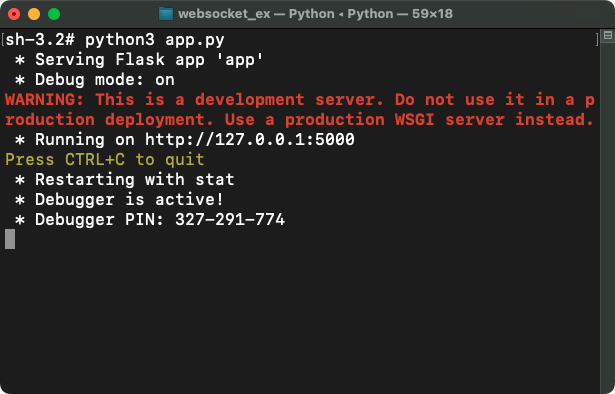
You can run this server application by executing the following command in terminal or command prompt.
python app.pyIf you have python3 command, then run the following command.
python3 app.py
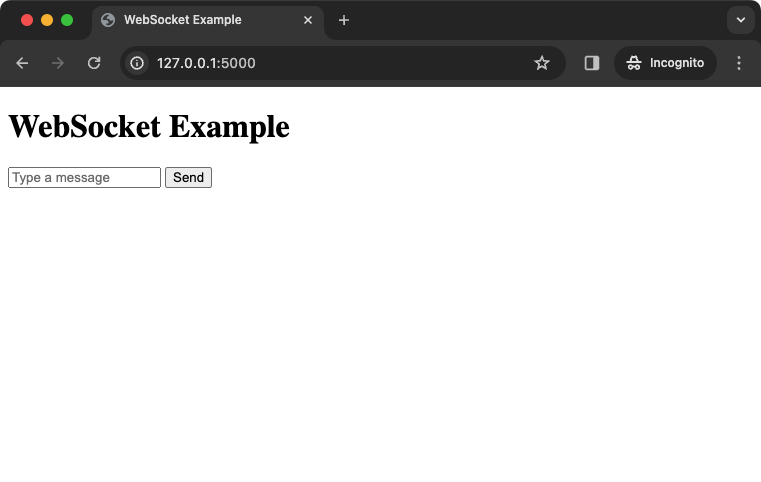
Your Flask application with WebSockets is now running. Visit http://127.0.0.1:5000/ in your web browser, and you'll be able to send and receive messages via WebSockets.

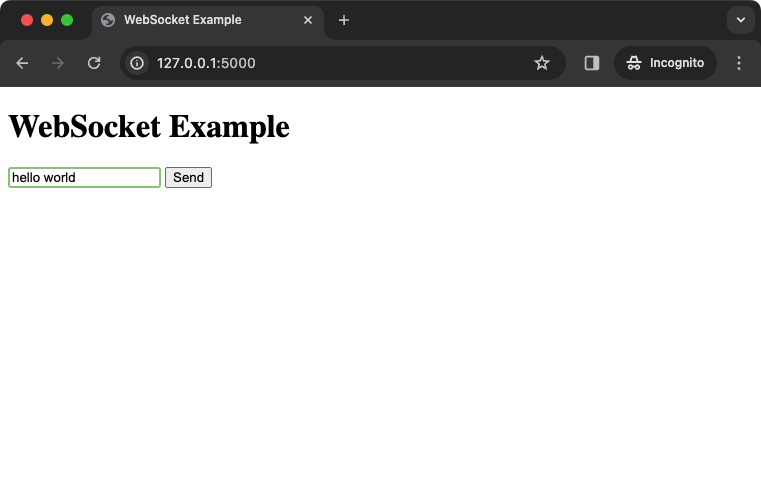
Type a message and click on Send button.

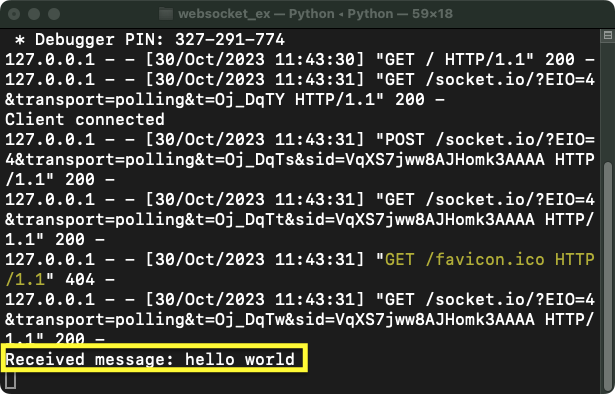
Messages sent from the client will be displayed in the server's console.

You can further customize and expand this application to suit your needs.
Summary
Summarizing this example, we have demonstrated a Flask application with WebSockets. app.py handles WebSocket connections and message exchanges, and index.html is a web page that allows users to send and receive real-time messages. It establishes a bidirectional communication channel between clients and the server. Users can enter messages in the web page, which are sent to the server, and the server responds with modified messages. The server acknowledges client connections and logs messages. This example showcases the use of Flask and Flask-SocketIO for creating a simple real-time chat application.