Python WebSockets Example
Python WebSockets Example
In this tutorial, we shall learn how to build a Python Server Application with WebSocket using websockets library.
Before using websockets library, we must install it.
To install websockets library, run the following command.
pip install websocketsIf you have pip3 installed, then use the following command.
pip3 install websocketsServer side Application of Python WebSocket
Create a Python file named websocket_server.py, as shown below. This is our server application.
websocket_server.py
import asyncio
import websockets

# Define a callback function to handle incoming WebSocket messages
async def handle_websocket(websocket, path):
    try:
        while True:
            message = await websocket.recv()
            print(f"Received message: {message}")

            # You can send a response back to the client if needed
            response = f"Received: {message}"
            await websocket.send(response)
    except websockets.ConnectionClosed:
        pass

if __name__ == "__main__":
    # Start the WebSocket server
    start_server = websockets.serve(handle_websocket, "localhost", 8765)

    asyncio.get_event_loop().run_until_complete(start_server)
    asyncio.get_event_loop().run_forever()
asyncio library is used to run this server application forever.
websockets library is implement websocket capability to this server application.
When you run this application, the server starts listening on localhost at port 8765 and echoes back any messages it receives.
We defined a function handle_websocket() in this server application. This handle_websocket() function handles the websocket. Inside this function we have an infinite while loop. In the while loop, we wait for and receive the messages from websocket using websocket.recv(). Once the message is received, we simply echo back the received message using websocket.send(). Since it is a demo application, we are echoing the message. You may send the response as per your application requirement.
Run the server application
You can run this server application by executing the following command in terminal or command prompt.
python websocket_server.pyIf you have python3 command, then run the following command.
python3 websocket_server.py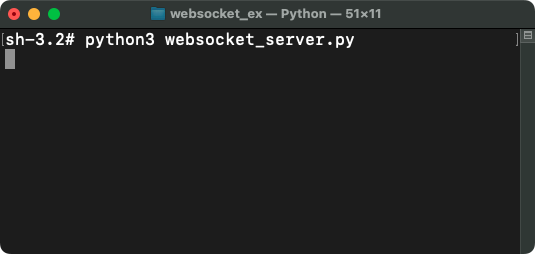
Client side Application of Python WebSocket
Create a HTML file named index.html, as shown below. This acts as our client. We shall write some JavaScript code that connects to the websocket of the server.
index.html
<!DOCTYPE html>
<html>
<head>
    <title>WebSocket Example</title>
</head>
<body>
    <h1>WebSocket Example</h1>
    <input type="text" id="message" placeholder="Enter a message" />
    <button id="send">Send</button>
    <div id="output"></div>

    <script>
        const output = document.getElementById("output");
        const messageInput = document.getElementById("message");
        const sendButton = document.getElementById("send");

        const socket = new WebSocket("ws://localhost:8765");

        socket.onopen = () => {
            output.innerHTML += "<p>Connected to the server.</p>";
        };

        socket.onmessage = (event) => {
            output.innerHTML += `<p>Server says: ${event.data}</p>`;
        };

        socket.onclose = () => {
            output.innerHTML += "<p>Connection closed.</p>";
        };

        sendButton.addEventListener("click", () => {
            const message = messageInput.value;
            socket.send(message);
            output.innerHTML += `<p>You say: ${message}</p>`;
            messageInput.value = "";
        });
    </script>
</body>
</html>
Let us go in detail what's happening in the JavaScript of this index.html.
const output = document.getElementById("output");: This line selects the<div>element with the ID "output" and assigns it to theoutputvariable, which will be used to display messages.const messageInput = document.getElementById("message");: This line selects the input field with the ID "message" and assigns it to themessageInputvariable, which is where the user enters messages.const sendButton = document.getElementById("send");: This line selects the button with the ID "send" and assigns it to thesendButtonvariable.const socket = new WebSocket("ws://localhost:8765");: This line creates a WebSocket connection to the server. It connects to the server at "ws://localhost:8765". You should match the server URL and port with what your WebSocket server is using.- Event Handlers:
socket.onopen: This event is triggered when the WebSocket connection is successfully opened. It appends a message to theoutputdiv indicating that the client is connected to the server.socket.onmessage: This event is triggered when a message is received from the server. It appends the received message to theoutputdiv, displaying it as "Server says: [message]".socket.onclose: This event is triggered when the WebSocket connection is closed, and it appends a message to theoutputdiv indicating that the connection has been closed.
sendButton.addEventListener("click", () => {...});: This code adds a click event listener to the "Send" button. When the button is clicked, it executes the function inside the listener:const message = messageInput.value;: It gets the value entered in the input field (the message to be sent).socket.send(message);: It sends the message to the server using the WebSocket connection.output.innerHTML += "<p>You say: " + message + "</p>";: It appends the sent message to theoutputdiv, displaying it as "You say: [message]".
Run the client
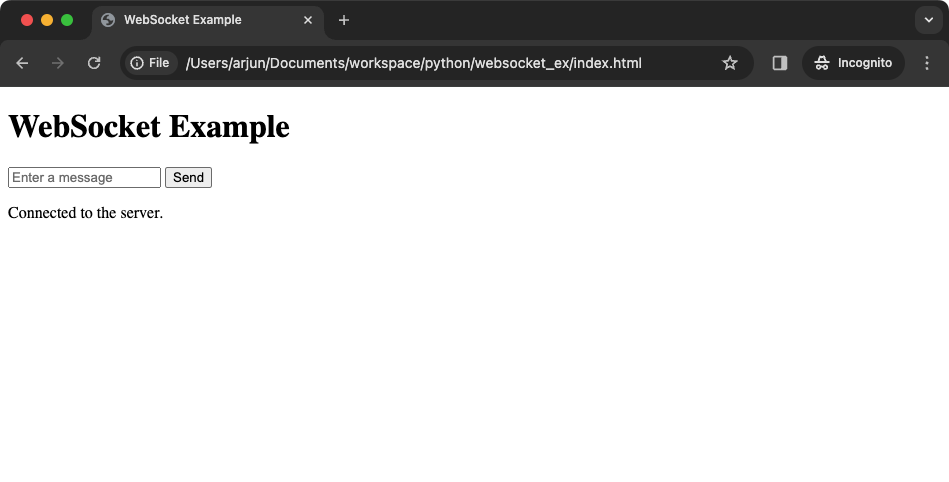
To run the client, open the index.html file in a web browser of your choice, say, Google Chrome.
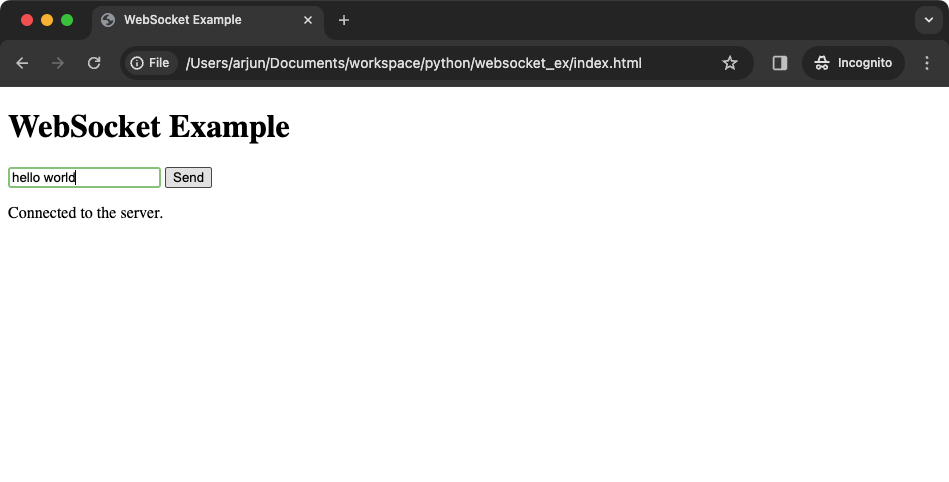
Enter a message in the text box, and click on Send button.
After clicking the Send button, you will see the following output.
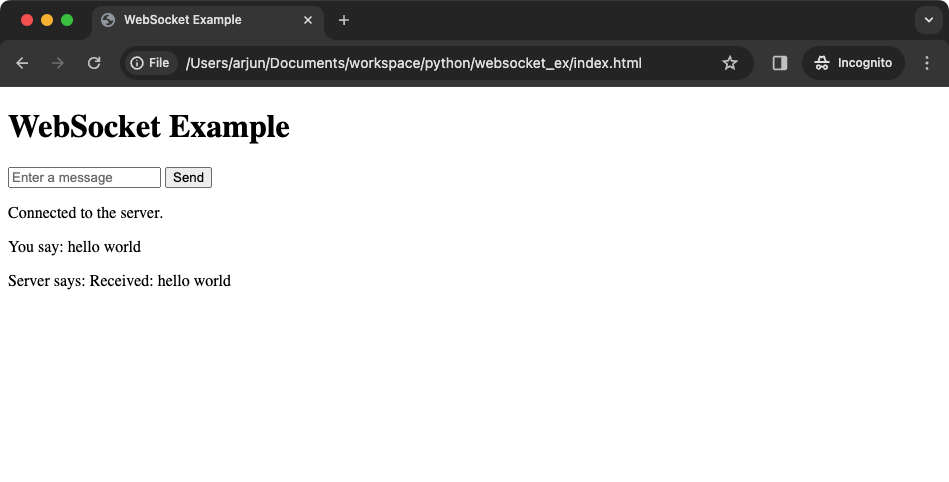
Your message has been sent to the server, and server also responded with a message.
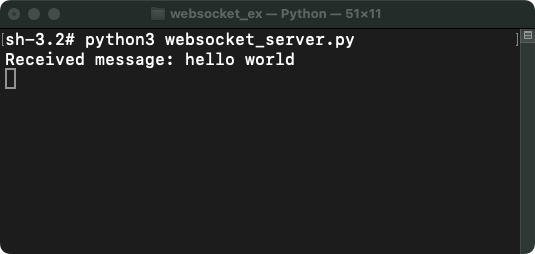
At the server side, you will see as shown in the following screenshot. The server received a message from the client.
Summary
In summary, we have seen how to create a websocket server application (websocket_server.py), and a client (index.html) using websockets libarary. We have also seen how the server side application of websocket works, how to start the websocket server application, then send messages from client, and also receive message at the client from server via websocket.