Install OpenCV-Python on Mac
Steps to install OpenCV-Python on Mac
In this tutorial, you will learn how to install opencv-python library on you Mac using pip command in terminal.
Please follow the below steps to install OpenCV-Python library on you Mac.
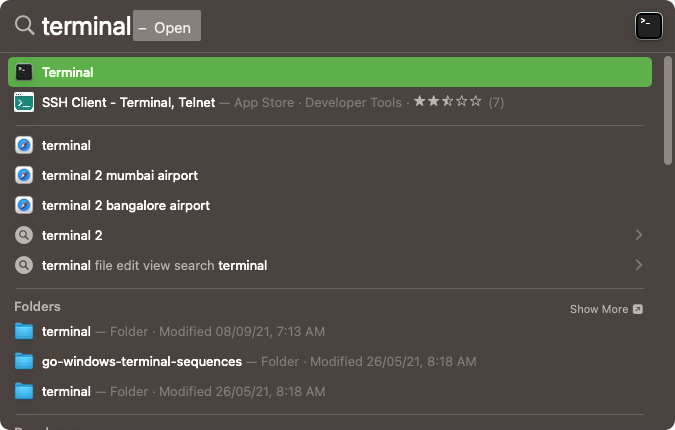
1. Open Terminal.
Search from Terminal program. And Click on the Terminal.
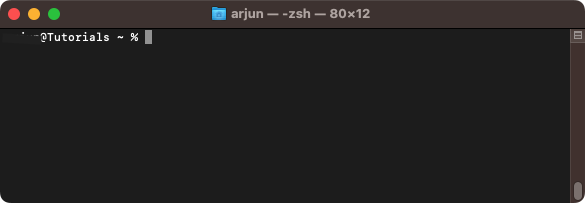
A terminal window opens as shown in the following screenshot.
2. Run pip command.
Run the following pip command.
sudo pip install opencv-pythonEnter the password if prompted.
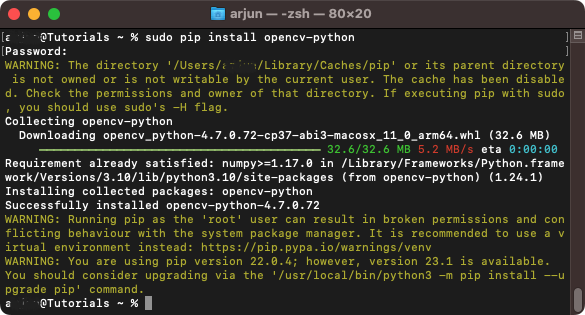
The opencv-python library is successfully installed.
3. Check the installation.
You may run a simple program to import cv2 library, and read an image.
In the following program, we read an image and display the image dimensions.
Python Program
import cv2
# Read image
img = cv2.imread('test_image.jpg')
# Print image dimensions
print('Image Dimensions :', img.shape)
Output
Image Dimensions : (452, 640, 3)Summary
In this Python OpenCV Tutorial, you learned how to install OpenCV-Python library.