Matplotlib - Plot points
Matplotlib - Plot points
In this tutorial, you shall learn a step by step process to draw points on a plot using plot() function of matplotlib.pyplot.
1. Import Matplotlib
Import the Matplotlib library, specifically the pyplot module.
import matplotlib.pyplot as plt2. Create Data
Define example data points.
# Example data
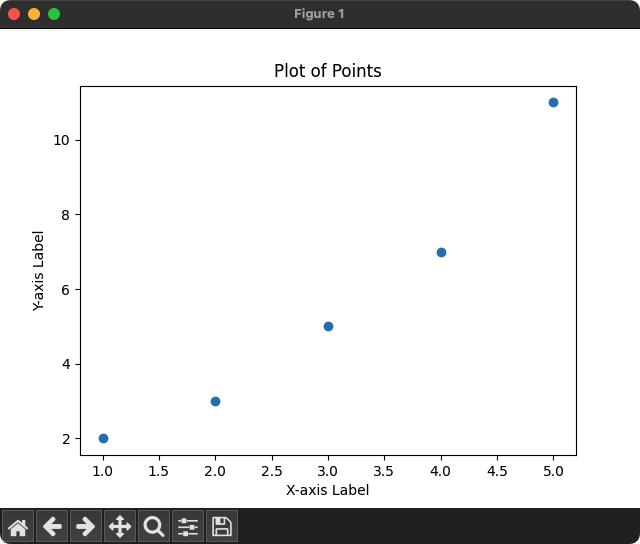
x = [1, 2, 3, 4, 5]
y = [2, 3, 5, 7, 11]In this case, x represents the values on the X-axis, and y represents the corresponding values on the Y-axis.
3. Plot Points
Use the plot() function to create a line plot of the data points.
plt.plot(x, y, 'o') # 'o' specifies markers for pointsThe 'o' argument specifies that markers (dots) should be used to represent each point on the plot. Refer Marker Reference.
4. Customize Plot
Add customization to the plot for better clarity.
plt.title('Plot of Points')
plt.xlabel('X-axis Label')
plt.ylabel('Y-axis Label')
The title(), xlabel(), and ylabel() functions set the title, X-axis label, and Y-axis label, respectively.
5. Show the Plot
Display the plot.
plt.show()The show() function is essential for rendering the plot and making it visible.
Complete program to draw a plot with points
Using all the above steps, let us write the complete program to draw points on the plot using Matplotlib plot() function.
Python Program
import matplotlib.pyplot as plt

# Example data
x = [1, 2, 3, 4, 5]
y = [2, 3, 5, 7, 11]

# Plot points
plt.plot(x, y, 'o')

# Customize plot
plt.title('Plot of Points')
plt.xlabel('X-axis Label')
plt.ylabel('Y-axis Label')

# Show the plot
plt.show()
Output
Summary
That concludes our tutorial on creating a plot with points using Matplotlib in Python!