Tkinter Checkbutton
What is Checkbutton widget
Checkbutton is a widget that can provide a checkbox-like interface where users can select or deselect options. Please note that the term "checkbox" and "checkbutton" are often used interchangeably to refer to the same concept.
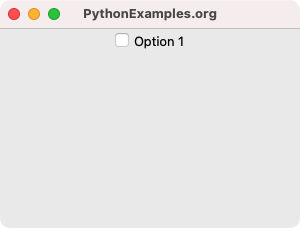
The following is a screenshot of how a Checkbutton is displayed in a GUI application. The look and feel may vary slightly based on the Operating system, but the basics and overall functionality should be same.
How to create a Checkbutton widget in Tkinter
To create a checkbox in Tkinter, you can use the Checkbutton widget. The syntax of the Checkbutton constructor is given below.
Checkbutton ( master, options)where
- master is the parent window.
- options are keyword arguments.
Please refer to the Checkbutton options tutorial to learn more about the optional keyword arguments that we can given to the Checkbutton().
Example
In the following example, we shall create a Checkbutton widget, and display it in the GUI.
Python Program
import tkinter as tk

def on_checkbutton_toggle():
    if checkbutton_var.get():
        print("Checkbutton is selected")
    else:
        print("Checkbutton is deselected")

# Create the main window
window = tk.Tk()
window.geometry("300x200")
window.title("PythonExamples.org")

# Create a variable to store the checkbutton state
checkbutton_var = tk.IntVar()

# Create the checkbutton widget
checkbutton_1 = tk.Checkbutton(window, text="Option 1", variable=checkbutton_var, command=on_checkbutton_toggle)

# Set the initial checkbutton state
checkbutton_var.set(0)

# Pack the checkbutton widget
checkbutton_1.pack()

# Start the Tkinter event loop
window.mainloop()
Now, let us see what we have done here in detail. First let us observe the following line of code.
tk.Checkbutton(window, text="Option 1", variable=checkbutton_var, command=on_checkbutton_toggle)We have created a Checkbutton widget using Checkbutton(), with window as the master.
Then we passed text="Option 1" which is displayed after the square button in the GUI.
The next option is variable=checkbutton_var which is used to store the state/value of the Checkbutton. When the Checkbutton is selected or deselected, the value in this variable changes. By default the value is set to 0 if the Checkbutton is deselected, or the value is set to 1 if the Checkbutton is selected.
Then we passed command=on_checkbutton_toggle, which is the callback function, and is called whenever the Checkbutton is selected or deselected.
Output in Windows
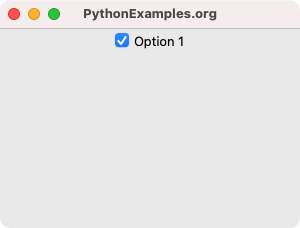
GUI when then checkbutton is checked.
Output in Mac
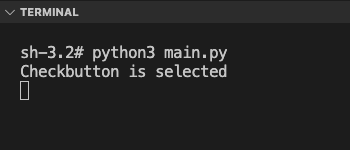
Now, check the checkbutton, by clicking on it using mouse.
The state of the checkbutton changes, and the callback function on_checkbutton_toggle is called. Since the checkbutton_1 is checked, checkbutton_var.get() returns value of 1, and the if-block is run.
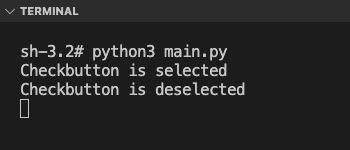
Now, deselect the checkbutton, by clicking on the checked box.
The state of the checkbutton changes, and the callback function on_checkbutton_toggle is called. Since the checkbutton_1 is unchecked, checkbutton_var.get() returns value of 0, and the else-block is run.
Summary
In this Python Tkinter tutorial, we have seen what a Checkbutton widget is, its syntax, and how to create a Checkbutton in a GUI application, with examples. In out next tutorials, you will learn more about Checkbutton widget, with respect to the event handling, styling, and creating Checkbuttons from a dictionary, etc.