Tkinter - Create Menu bar
Tkinter Create Menu bar
Menu bar is the list of items displayed in a horizontal bar on the top of window, or on the top of the screen incase of Mac.
To create a menu bar in Tkinter, create a Tk.Menu object with the Tk window passed as argument. And then add cascade items to this menu bar.
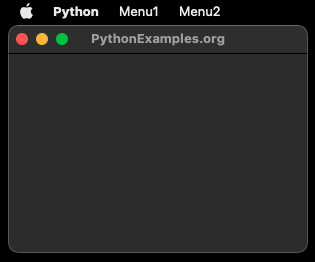
Let us consider that we need to build a window using Tkinter, with the following menu bar.
Menu1 Menu2 # menu barAnd when you click (or hover for Mac) on any of these items, the respective menu would be displayed.
Menu1 Menu2 # menu bar
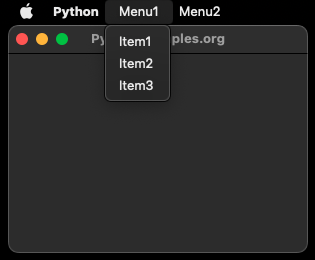
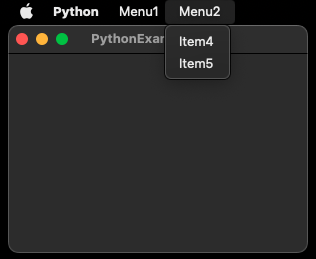
Item1 Item4
Item2 Item5
Item3 Steps to create Menu bar using Tkinter
In the following steps, we use Tkinter to create a menu bar that has been specified above.
Step 1
Import tkinter, and create a Tk object.
import tkinter as tk
window = tk.Tk()
Step 2
Create Menu bar using Tk.Menu class.
menu_bar = tk.Menu(window)Step 3
Create the Menus in the Menu bar using Tk.Menu class.
menu_1 = tk.Menu(menu_bar, tearoff=0)
menu_2 = tk.Menu(menu_bar, tearoff=0)
Step 4
Add items to the menus. We shall add command items to the menus. We are not specifying any commands to the items, but you may do so by using command property of the add_command() method.
# Add items for Menu1
menu_1.add_command(label="Item1")
menu_1.add_command(label="Item2")
menu_1.add_command(label="Item3")

# Add items for Menu2
menu_2.add_command(label="Item4")
menu_2.add_command(label="Item5")
Step 5
Add menu to the menu bar. That is, add MyMenu1 and MyMenu2 menus to the Menu bar.
menu_bar.add_cascade(label="Menu1", menu=menu_1)
menu_bar.add_cascade(label="Menu2", menu=menu_2)
We have labelled the menu as Menu1 and Menu2 respectively. These labels would be displayed for the menus in the Menu bar.
Step 6
Configure the Tk window with menu bar.
window.config(menu=menu_bar)Step 7
Start the Tkinter event loop.
window.mainloop()Example
The following is the complete program by combining all the above steps to display a menu bar in the window.
Python Program
import tkinter as tk

# Create the main window
window = tk.Tk()
window.title("PythonExamples.org")
window.geometry("300x200")

# Create the menu bar
menu_bar = tk.Menu(window)

# Create the menus
menu_1 = tk.Menu(menu_bar, tearoff=0)
menu_2 = tk.Menu(menu_bar, tearoff=0)

# Add items for Menu1
menu_1.add_command(label="Item1")
menu_1.add_command(label="Item2")
menu_1.add_command(label="Item3")

# Add items for Menu2
menu_2.add_command(label="Item4")
menu_2.add_command(label="Item5")

# Add the menus to the menu bar
menu_bar.add_cascade(label="Menu1", menu=menu_1)
menu_bar.add_cascade(label="Menu2", menu=menu_2)

# Attach the menu bar to the main window
window.config(menu=menu_bar)

# Start the Tkinter event loop
window.mainloop()
Output
Run on MacOS.

Summary
In this Python Tkinter tutorial, we learned how to create a Menu bar using Tkinter, with the help of examples.